
How to Make a Mask That Fits Your Face Right
To mask or not to mask. Hell yes, mask!

It’s crazy to think we actually live in a time where masks are needed to stay somewhat protected from a nasty virus. Who would have thought this would be our life in 2020? When I was a kid, I thought that by now we’d have flying cars and salon styled hair machines that automatically dried & styled your hair in seconds (I’m still waiting for this one). But here we are, laying low, avoiding crowds and doing our best to stay healthy and safe. Yea 2020.
Although the mask debate is still storming in our country, in the end, it seems we should be wearing them to keep ourselves and others healthy. But I get it, no one wants to wear these damn things. It’s hard to breathe. You feel like your suffocating. It’s hard to hear people talk. You can’t see a smile. You can’t read facial expressions. They fog your glasses up. Yes. It. Sucks. But wouldn’t you rather wear a mask to protect yourself and someone else from a fever, dry cough or in more severe cases difficulty breathing and organ failure? On the bright side of wearing a mask, you can mumble obscenities or complaints under your breath without anyone knowing! :)
Whether or not you agree with mask wearing, it’s certainly more economical – and better for the environment – to make your own cute mask at home. So, here I wanted to share my easy mask pattern with you. Mask making isn’t as complicated as you might think and frankly, these days there’s a ton of ways to make them. The good news is you don’t really need any true sewing skill to craft a mask that will cover your face and keep those respiratory droplets from traveling into the air and onto other people.
So let’s slow the spread of COVID-19 together while looking cool in a handmade mask.
Peace & Love.
Nikki
How to Make Your Mask.
First find your favorite super cool fabric and cut out a 15” x 8” piece. I made a template by taping 2 pieces of 8.5”x11” cardstock paper together and cutting the template out to the correct size. I use this template to pencil out the measurement on my fabric.

Now that you have your measured piece of fabric, fold the piece in half, length wise. On the opening end, measure in 3” on each side and add a sewing pin. Sew from each end to the middle pin, leaving an opening for a filter.

Bring the seam to the center. I like to iron the seam, so the ends fold out flat.
Cut two 7” pieces of elastic. I also tried 6” pieces of elastic which fits well too, but 7” seems to be the best fit for not irritating the back of your ears. Place the elastic between the layers of fabric on each open side and pin in place. You want the elastic tucked inside the fabric because you will turn this inside out once sewn on both ends. Sew both edges to secure the ends of the elastic in place. You only want to sew the ends of the elastic, not the entire elastic strip.

Now it’s time to turn the fabric inside out through the filter opening and iron the fabric (optional) to flatten the shape and make it easier to create the pleats.

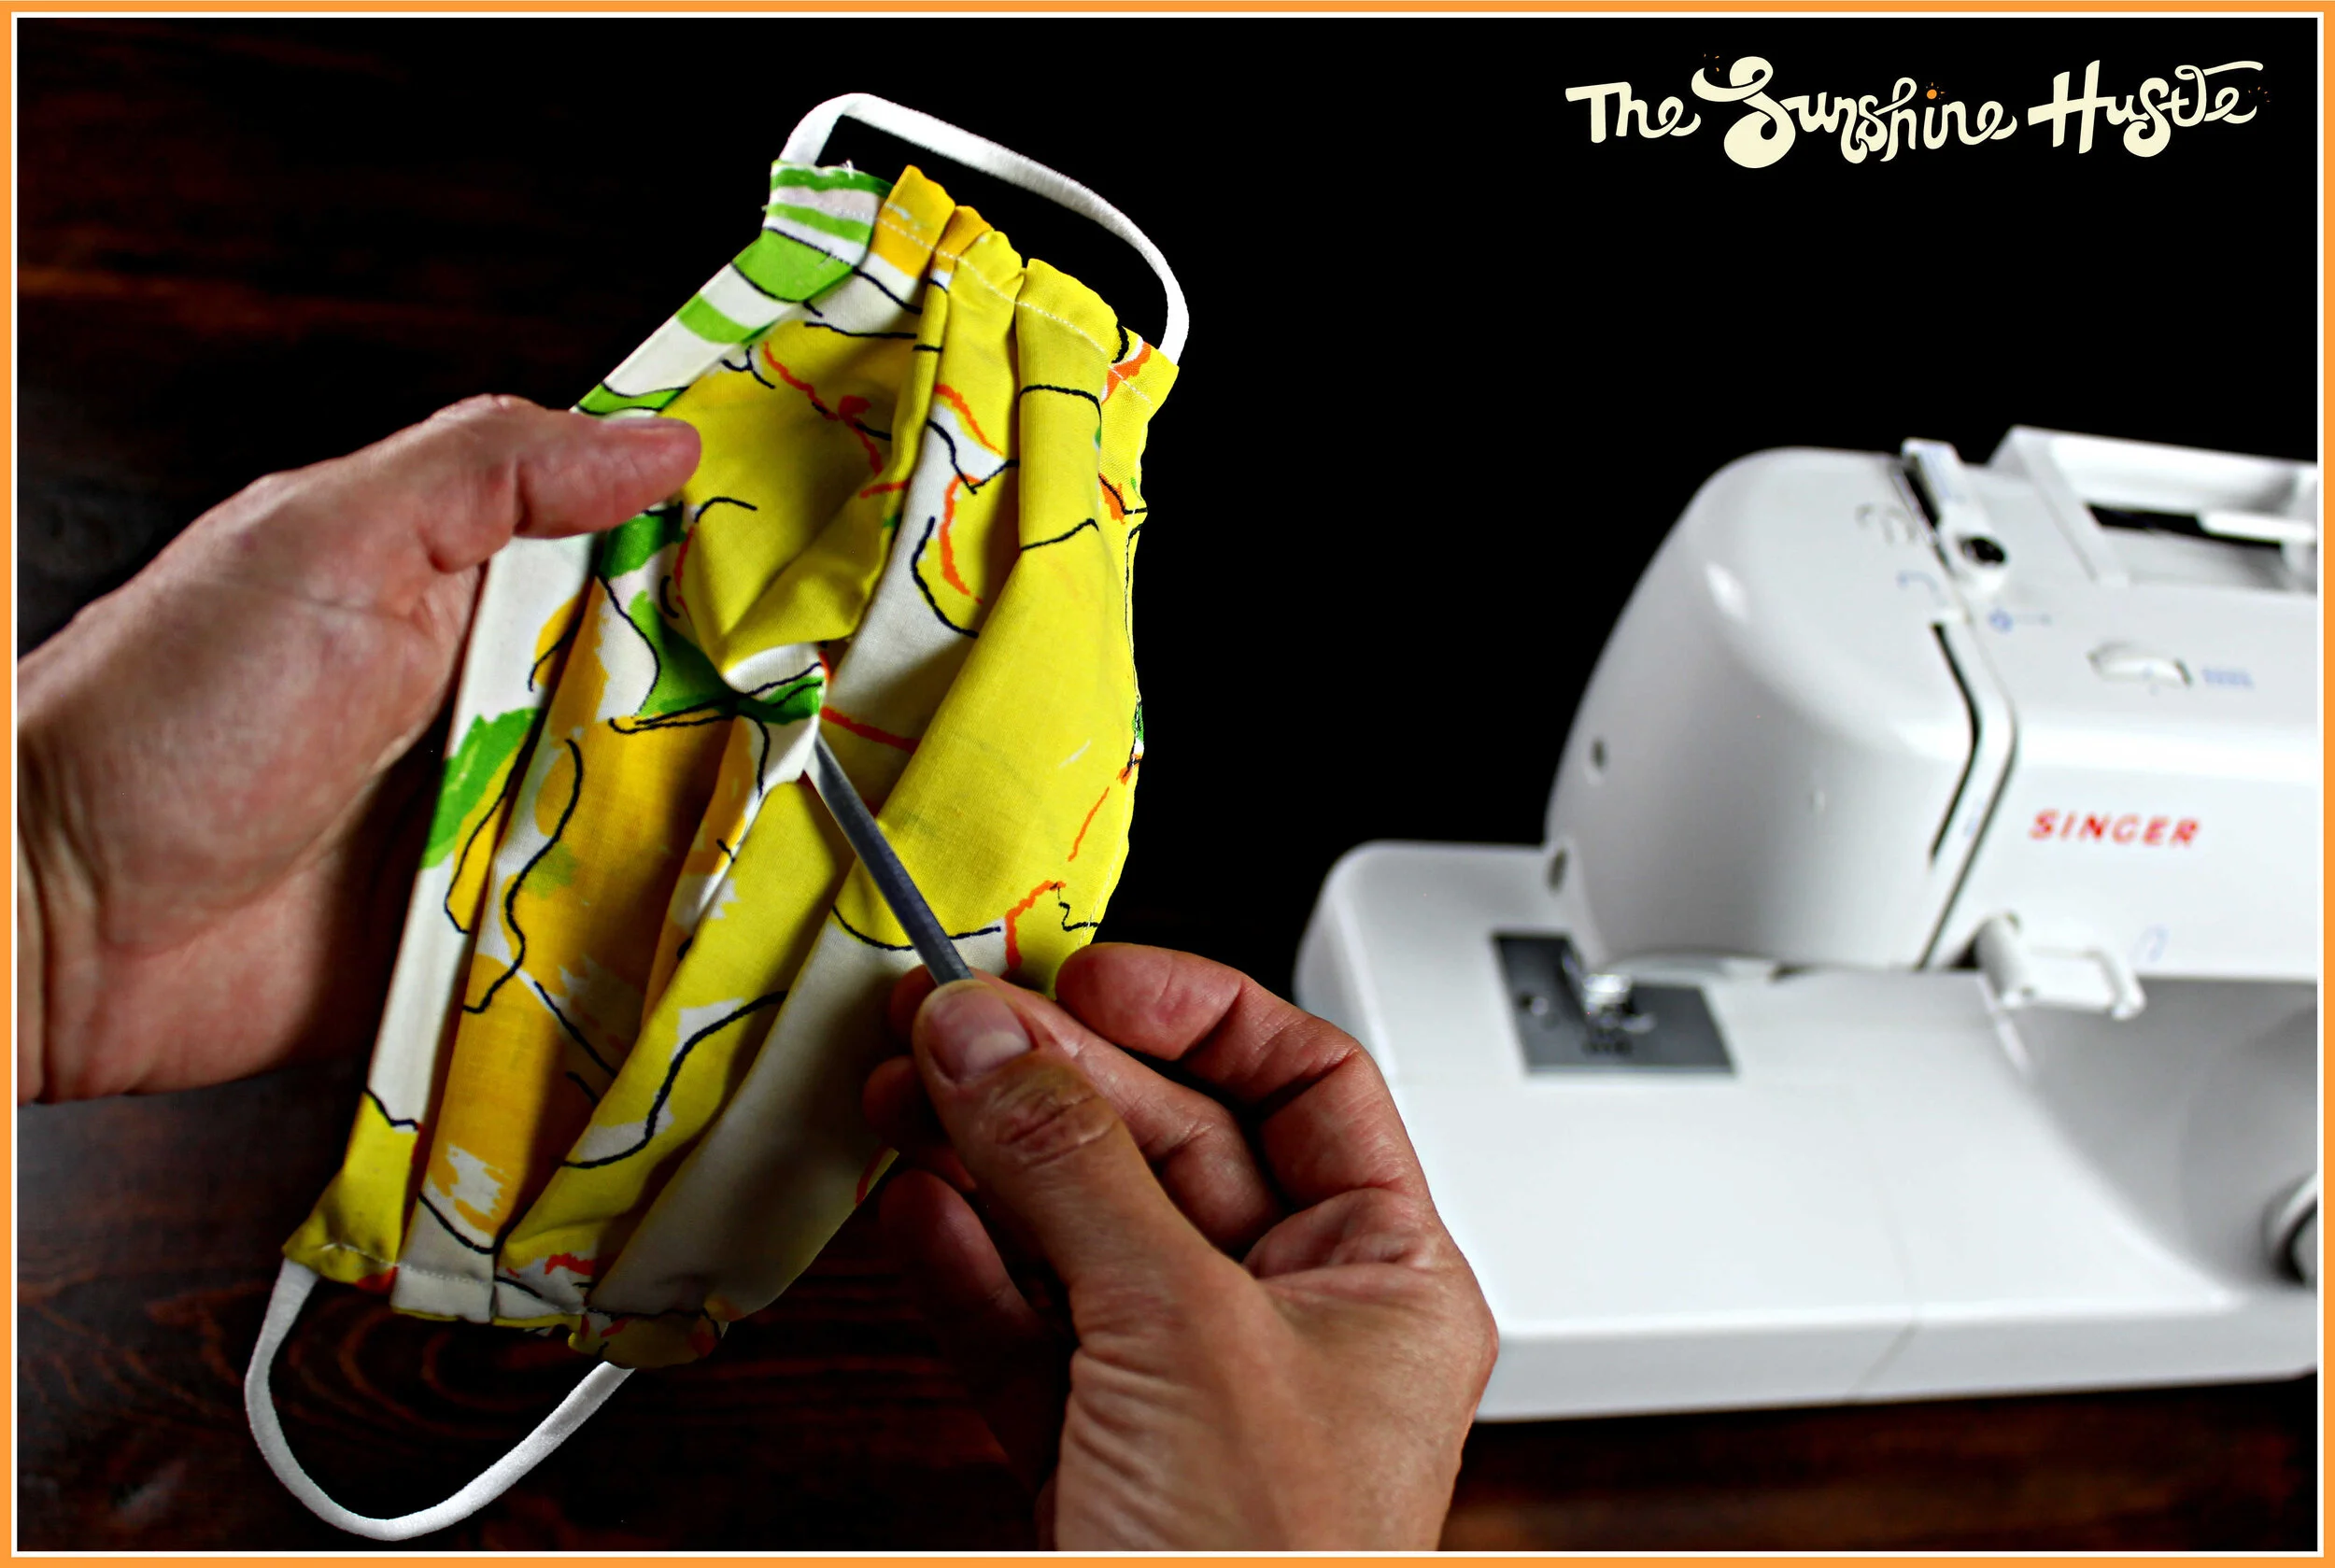
With the filter opening side of the mask facing down, and the elastic on the right/left sides, measure approximately 1 ½”- 2” from the top side and gather the right/left ends to fold over about ¼”, and add a sewing pin. This creates your first pleat. The pleats are used to help the mask expand to cover your nose and chin. Repeat 2 more times for a total of 3 pleats. Here you want to ensure an even length between pleats. You can absolutely measure each pleat (starting 1” from the bottom, add pin. Measure another 1”, add pin. Measure ½”, add pin. Measure 1”, add pin. Measure ½”, add pin. Measure 1”, add pin.) but as you can see, this is a lot of unnecessary work. I like to eyeball my folds.


Next it’s time to finish the sewing portion of this tutorial. I like to ensure the folded pleats are facing downward, then begin sewing the right side of the mask, removing the pins as you go. Without lifting your sewing needle, sew the bottom of the mask as close to the edge as possible. Then sew the other pleated side, leaving the top of the mask unsewn.

The final step is to insert the nose bridge strip through the filter opening and push the strip to the top of your mask. I like to make sure the side with the adhesive is on the backside of the mask, where the filter opening is. Note: I don’t remove the adhesive strip as we are sewing these in place. Finally sew a straight line as close to the nose bridge strip as possible along the entire top end of your mask.

When finished you can move the strip to the center and clamp around your nose when ready to wear. It helps the mask fit perfectly. As a reminder you can add a filter for more protection through the opening in the mask. I’ve used coffee filters for this as needed.
And there you have it. Your first mask may take more time until you get used to the pattern. This really is a super easy, reusable mask and is a great way to save money, and our planet.
Happy Sewing. Peace & Love,
Nikki
*Disclaimer: this is not a medical-grade mask.

DID YOU MAKE THIS MASK?
Tag @thesunshinehustle on Instagram and hashtag #thesunshinehustle
SUPPLIES:
Sewing machine (obviously)
Your favorite fabric design (I use 100% cotton)
Sewing pins
Scissors
STEPS:
Measure and cut a 15” x 8” piece of fabric.
Fold the fabric in half (folded outside in) length wise and add a sewing pin 3” in on each side, leaving an opening in the middle to add a filter.
Sew from the end to the middle opening on each side.
Bring the seam to the center.
Cut two 7” pieces of elastic and pin in place between the layers of fabric on each open side of the mask. Be sure the elastic is tucked inside the fabric and not on the outside.
Sew both edges, including the elastic at the ends.
Turn the fabric inside out through the filter opening.
Iron material to give a flattened shape.
To create the pleats, turn mask over to have the opening face down. Measure about 2” from one side and gather the ends and fold over about ¼”. Then repeat this two more times, for 3 total pleats. Ensuring an even length between pleats.
With the folded pleats facing downward, begin sewing on the right side, removing the pins as you go.
Sew the bottom as close to the edge as possible.
Sew the other side of folded pleats, leaving the top of the mask unsewn.
Insert nose bridge strip through opening and push to the top of your mask.
Sew a straight line next to the nose bridge strip along the entire top end.
Move the nose bridge strip to center and clamp around nose when ready to wear.
For added protection, add a coffee filter inside through opening.
*Disclaimer: this is not a medical-grade mask.
